Perhaps it is because I'm not 'allowed' to eat grain/tradition bread products that I am obsessed with the idea of doing so... seriously, I dream about eating real bread the way small children dream of Santa Clause (if not more so, because let's be honest, most kids these days don't even believe in Santa [tragic]).
Given the success of the Zucchini bread I made a few weeks ago, I figured I could make other forms of 'bread', such as Lemon Poppy Seed Bread (just for starters, there WILL be others...eventually).
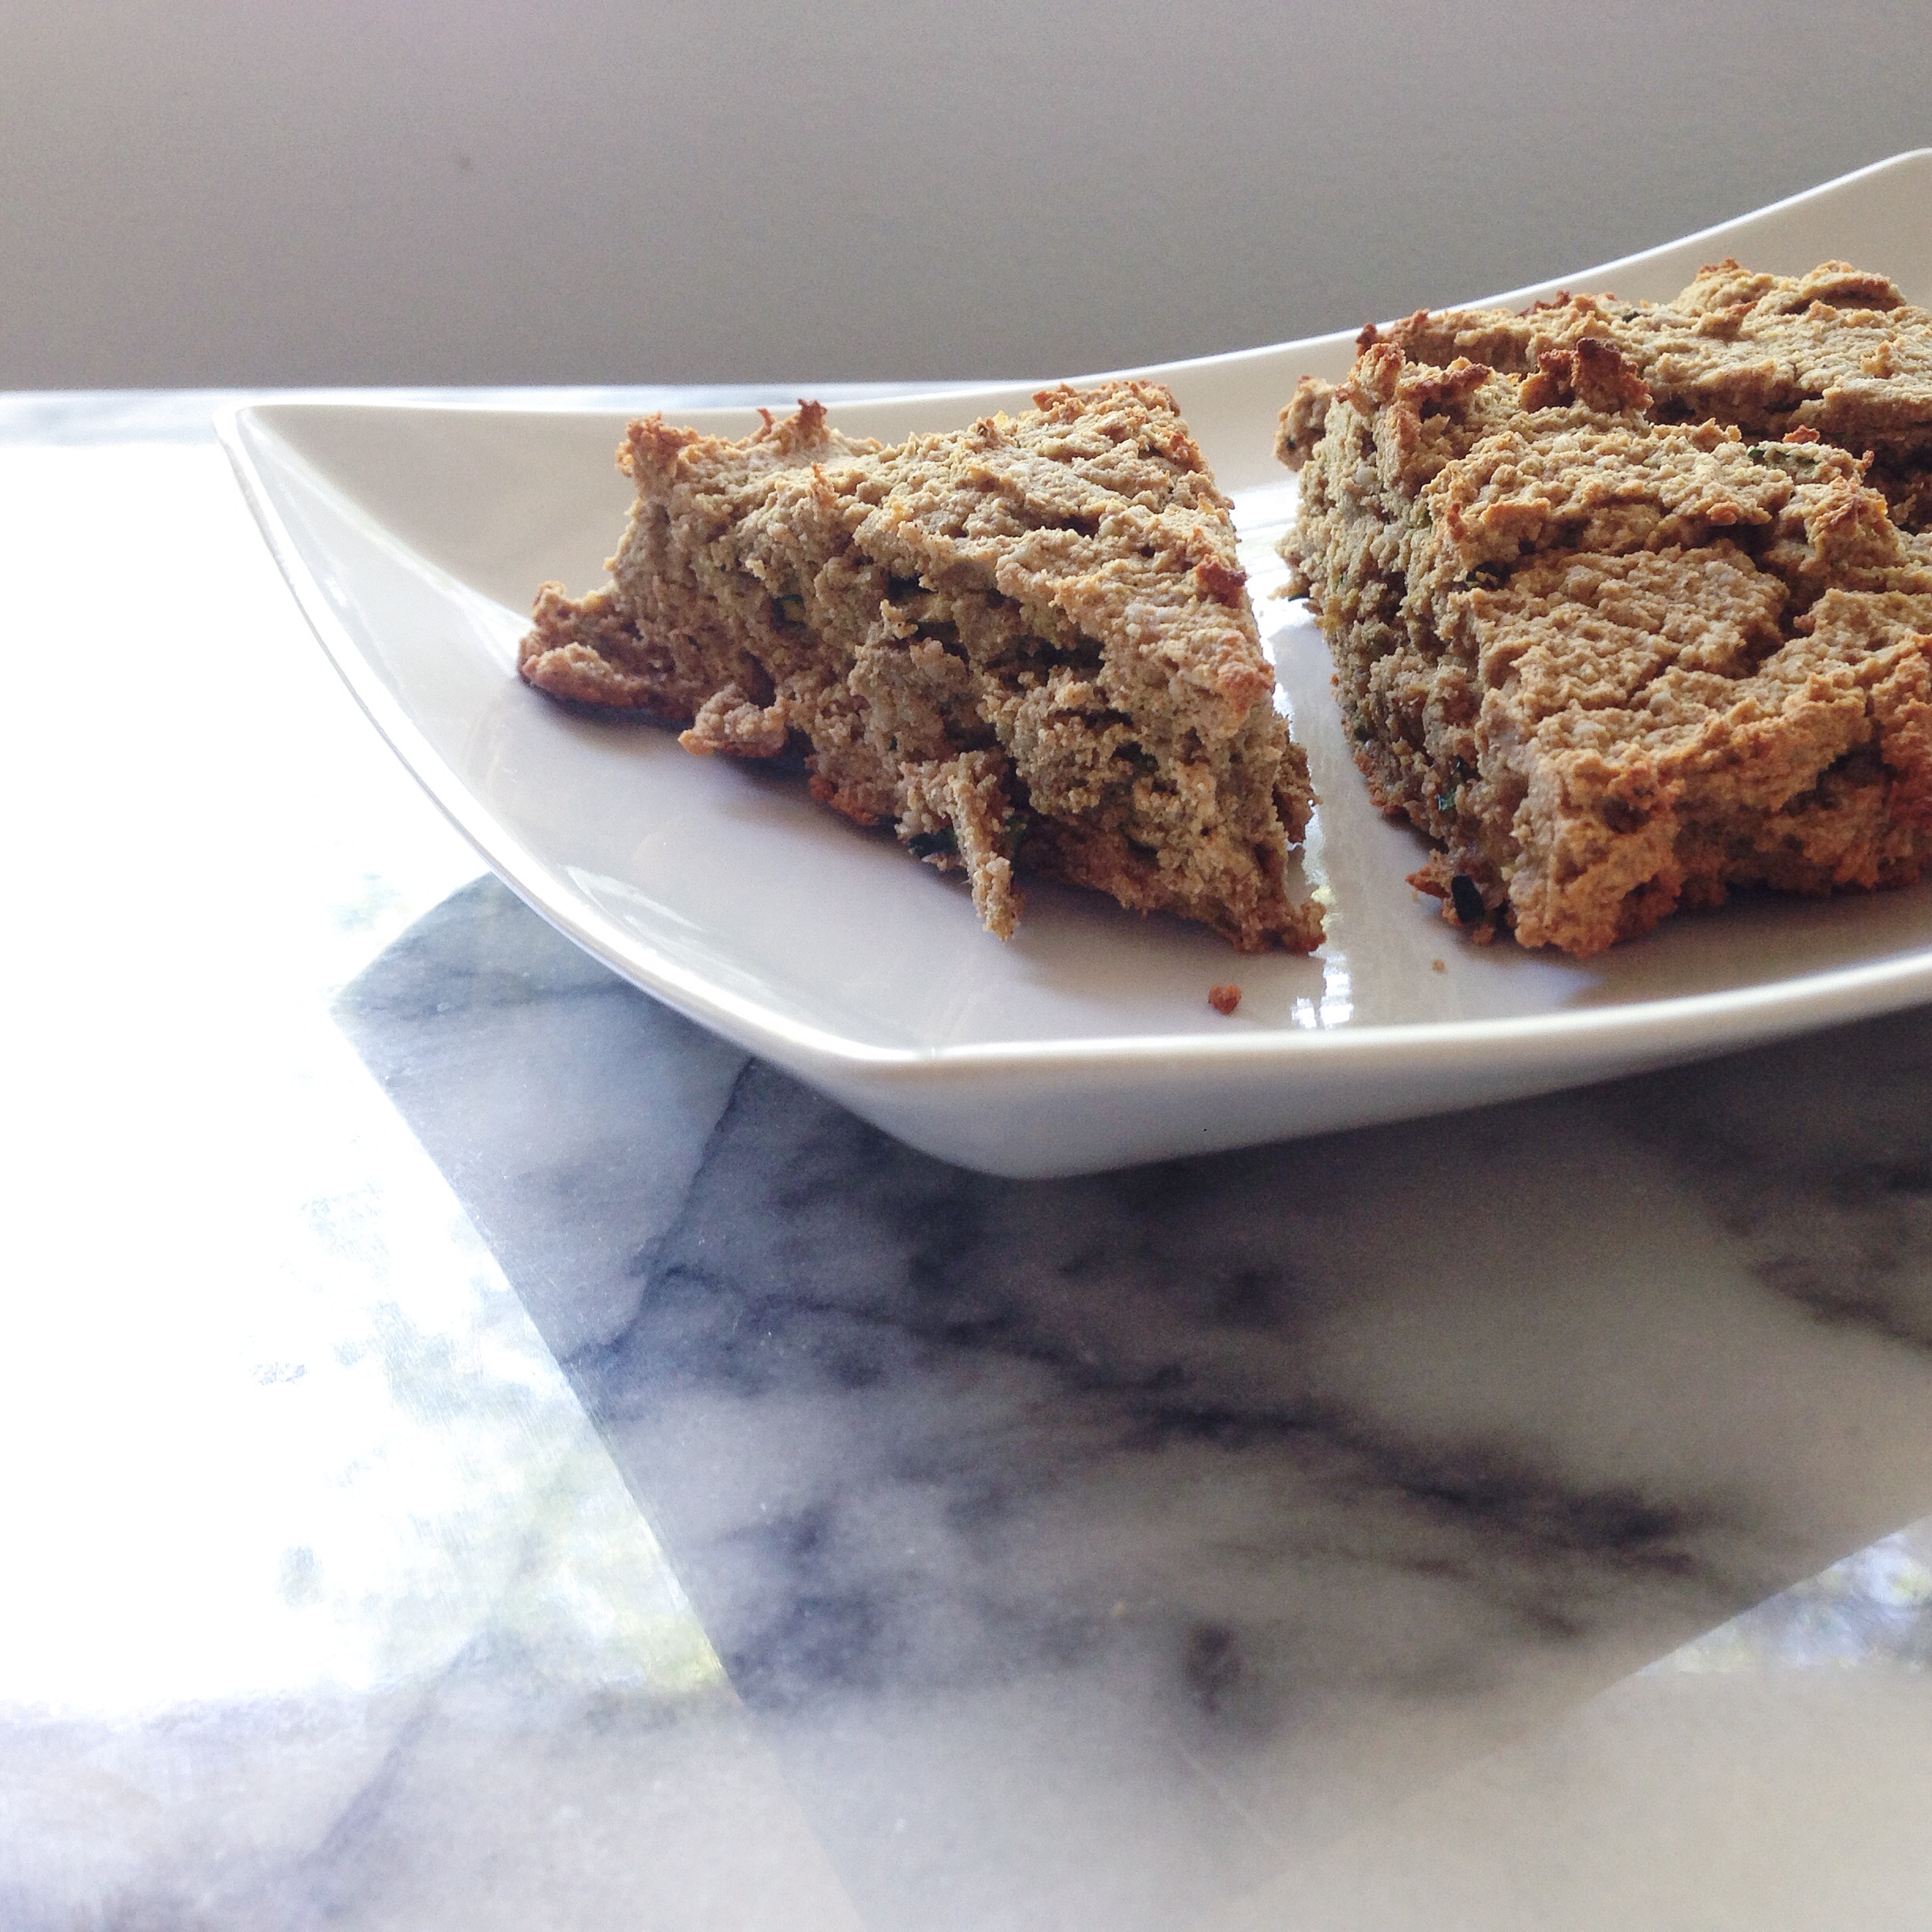
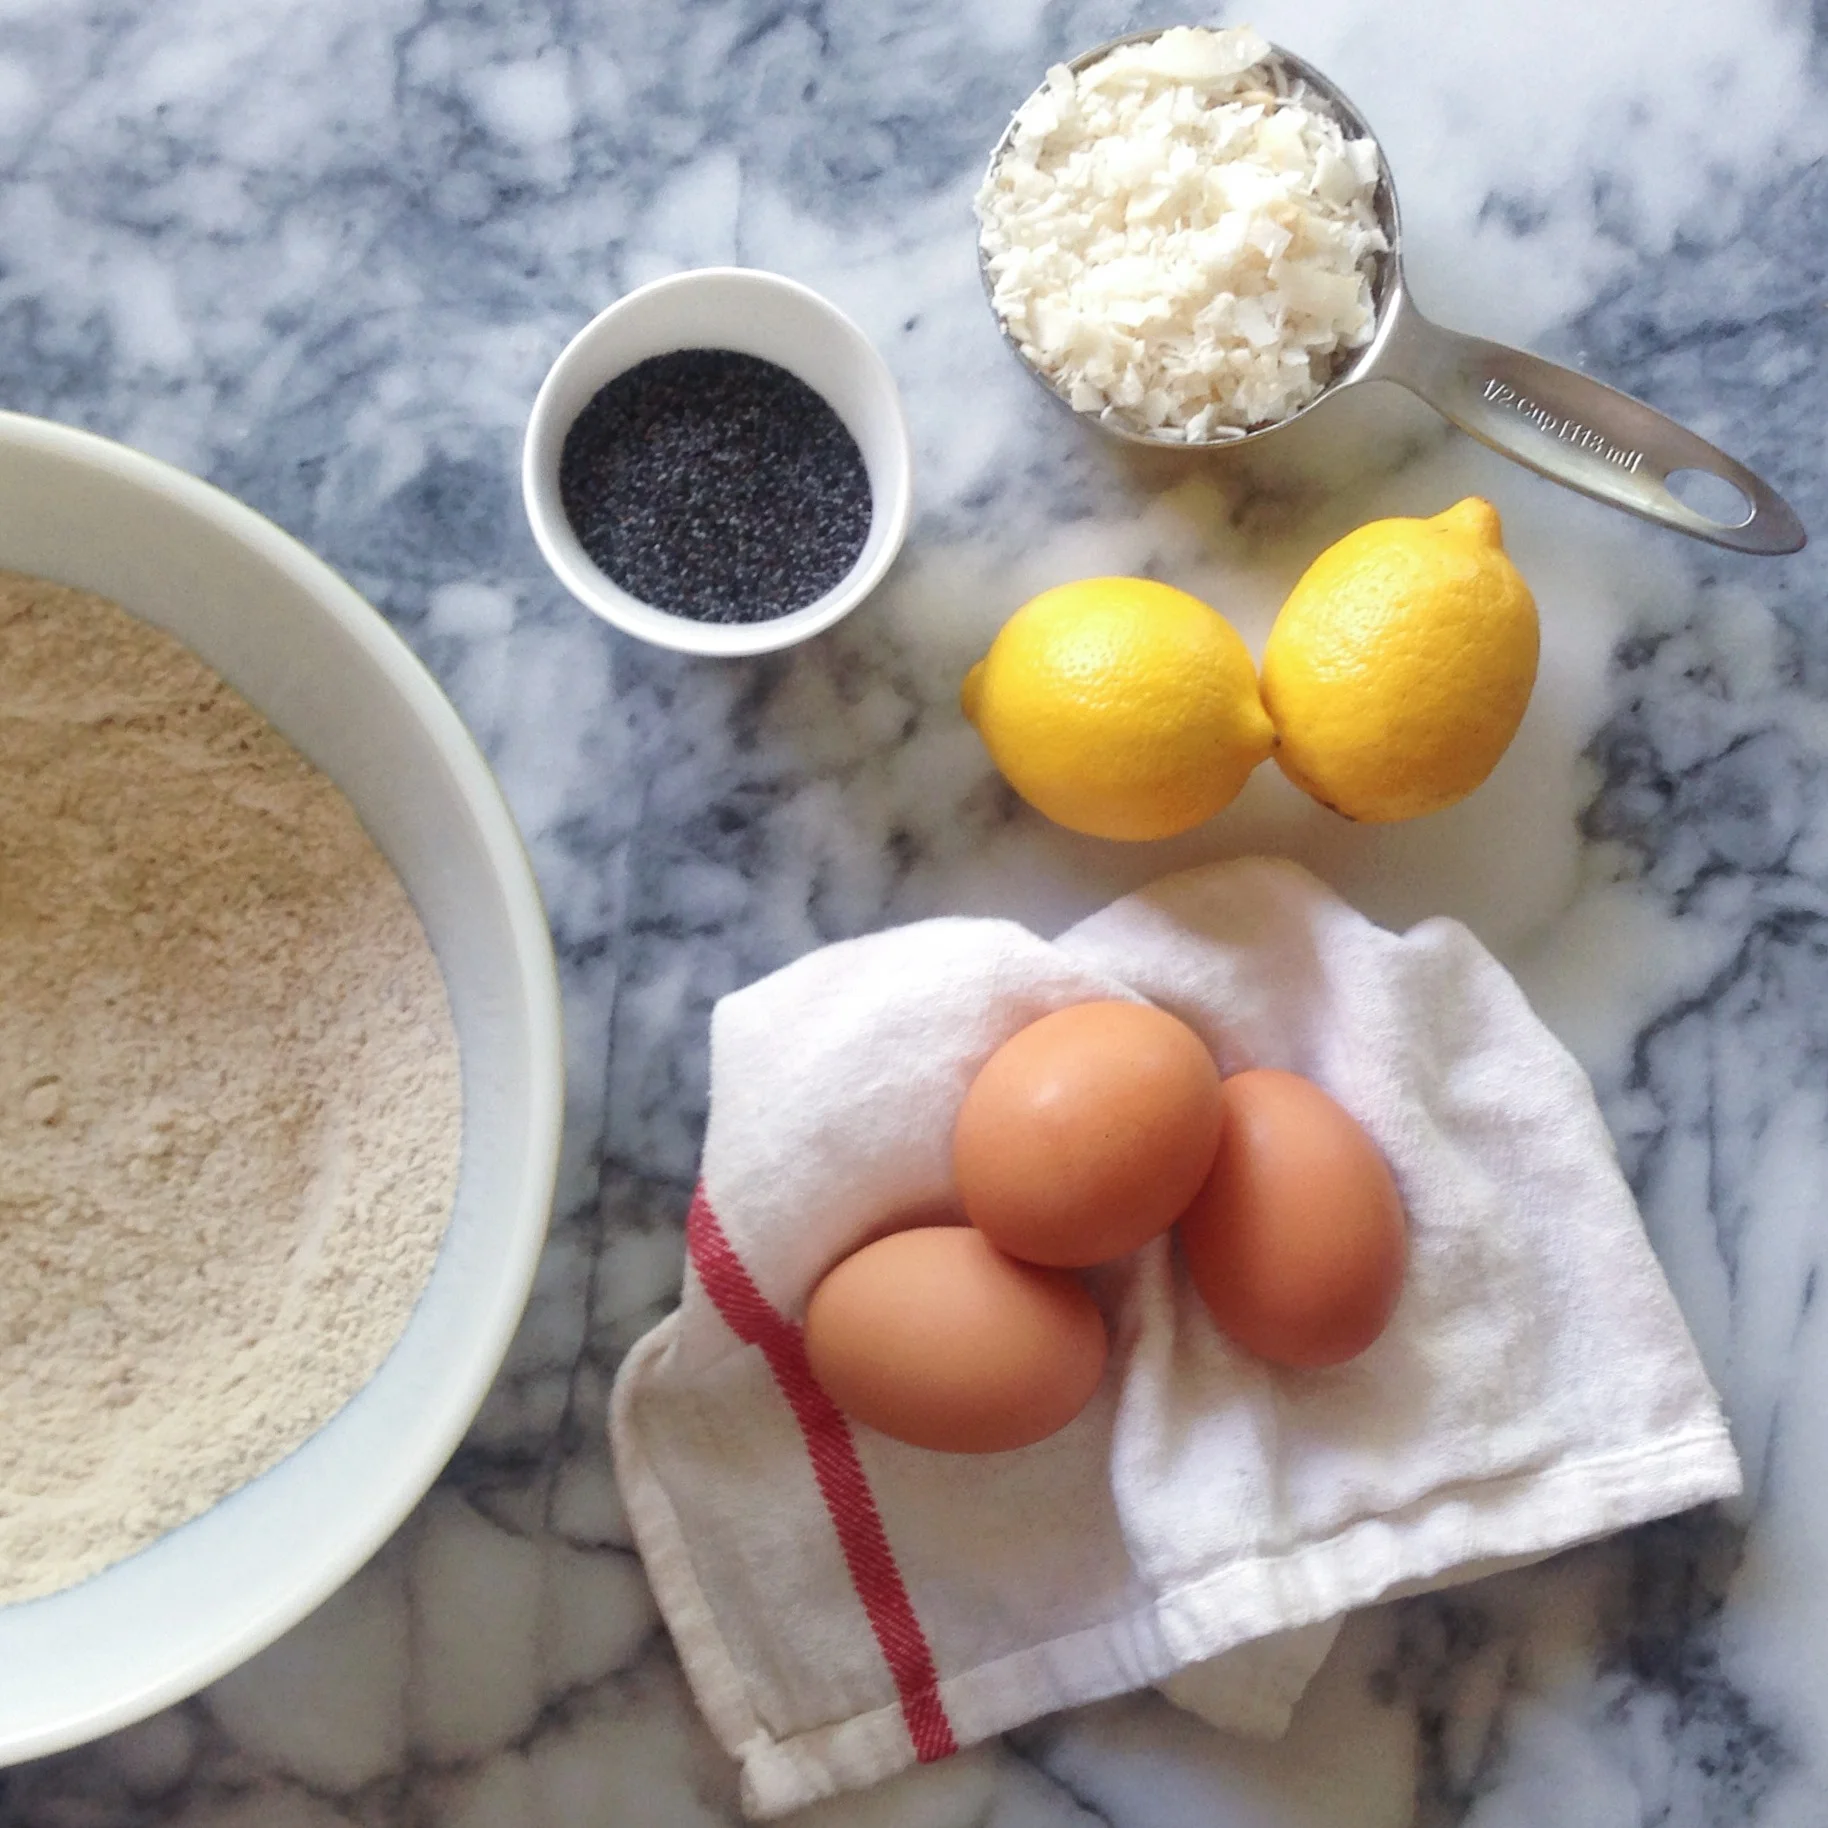
-LEMON POPPY SEED BREAD-

*Preheat the oven to 350 degrees*
What you will need-
1/2 cup raw sunflower seeds (ground into a fine flour)
1/2 cup coconut flour
1/2 cup quinoa flour
1 tsp baking powder
1/2 tsp baking soda
1/2 tsp sea salt
2.5 tbsp poppy seeds
1/2 cup raw (unsweetened) shredded coconut, optional
1/3 cup coconut oil (melted)
3 egg whites
1.5 cups unsweetened coconut milk (or other alternative milk)
juice and zest from 2 lemons and
1 tsp vanilla
3 tbsp honey
4 drops liquid stevia
Glaze-
Juice from one whole lemon
1.5 tsp honey
1.5 tbsp coconut oil
Grind 1/2 cup sunflower seeds into a fine flour in your food processor (blender or if you are in a pinch- coffee grinder), pour into a large bowl, add coconut flour, quinoa flour, baking soda, baking powder, salt, poppy seeds and shredded coconut (optional).
In a small bowl whisk the egg whites with the lemon juice, vanilla, and stevia.
Add the coconut oil, honey, coconut milk, lemon zest and egg white mixture into the dry ingredients. Stir until a thick dough has formed.
Pour the batter into a parchment lined (or greased) bread tin. Bake at 350 degrees for 35 minutes.
Remove from the oven and allow to cool
For the glaze. Melt the coconut oil and honey together, stirring regularly. Add in the lemon juice and place in the refrigerator to chill slightly. Drizzle over the bread and devour!

Ok, I admit it, I crave carbs! I LOVE BREAD, even if it is the 'poser' kind, I don't care, I love it all the same. This recipe may need some finesse, but STILL! Grain free, sugar free bread that actually TASTES good!? Is there anything better? I think not! (Unless someone has made a dairy free, sugar free, vegan ice cream that actually tastes good... in which case that would be better).
xx
*Side note- this bread may turn slightly green. DO NOT BE ALARMED! It isn't mold I promise. Sunflower seeds will turn things green when they are combined with baking soda (fun little fact Drew helped me discover). Even though it looks like Leprechauns kissed it after a day, it is still delicious for 5+ days (I'm guess here, it didn't last that long... I ate it... sooooo).